
A healthier version of Reese’s Peanut butter cups.
Servings: 12
Prep Time: 10 minutes
Total Time: 40 minutes
So if you have anyone in your house who loves Reese’s then this recipe is going to be a smash. You can make small changes to it if you like , and create your own fun, but this is what my family loves and what I find to be the best version that is healthy for us. I happen to love Dark Chocolate and it is the healthier chocolate, i prefer to use extra dark if you can find it.
You will need:
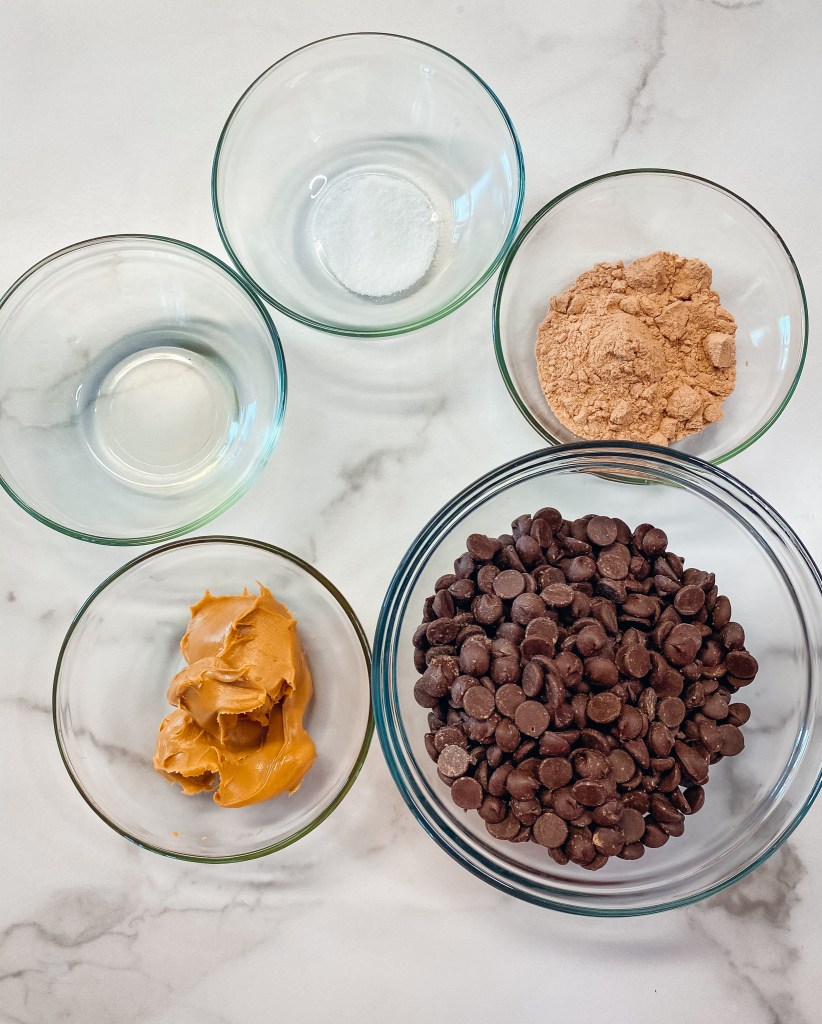
12 oz Dark Chocolate
1 cup Natural peanut butter (substitute your favorite nut butter if you wish)
2 Tbsp Coconut Oil
1 scoop of your favorite chocolate protein powder
1 Tsp sea salt, you will want the larger crystals
12-24 silicone cup cake liners, these can be found on amazon.
1-2 cup cake trays.
Steps:
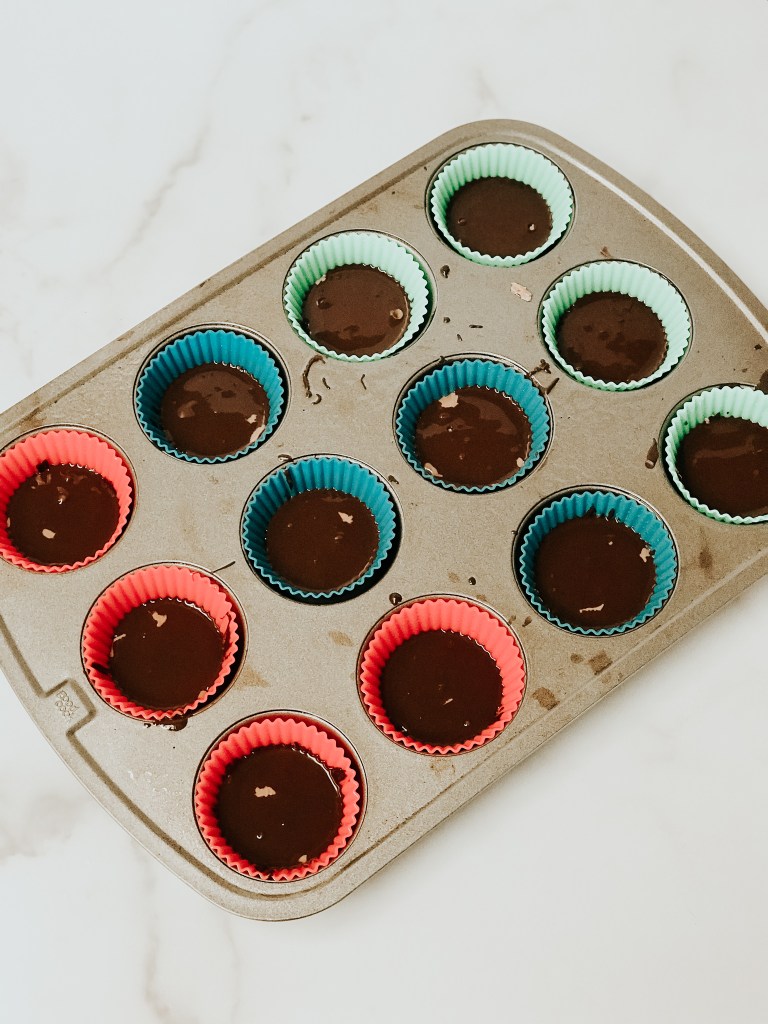
- Line the cup cake tray with the silicone cup cake liners.
2. In a small pot place the dark chocolate (you can use chips or large pieces of chocolate but then cut that up in to small pieces). Turn the burner on low and stir constantly. Chocolate can burn so do keep a close eye on it.
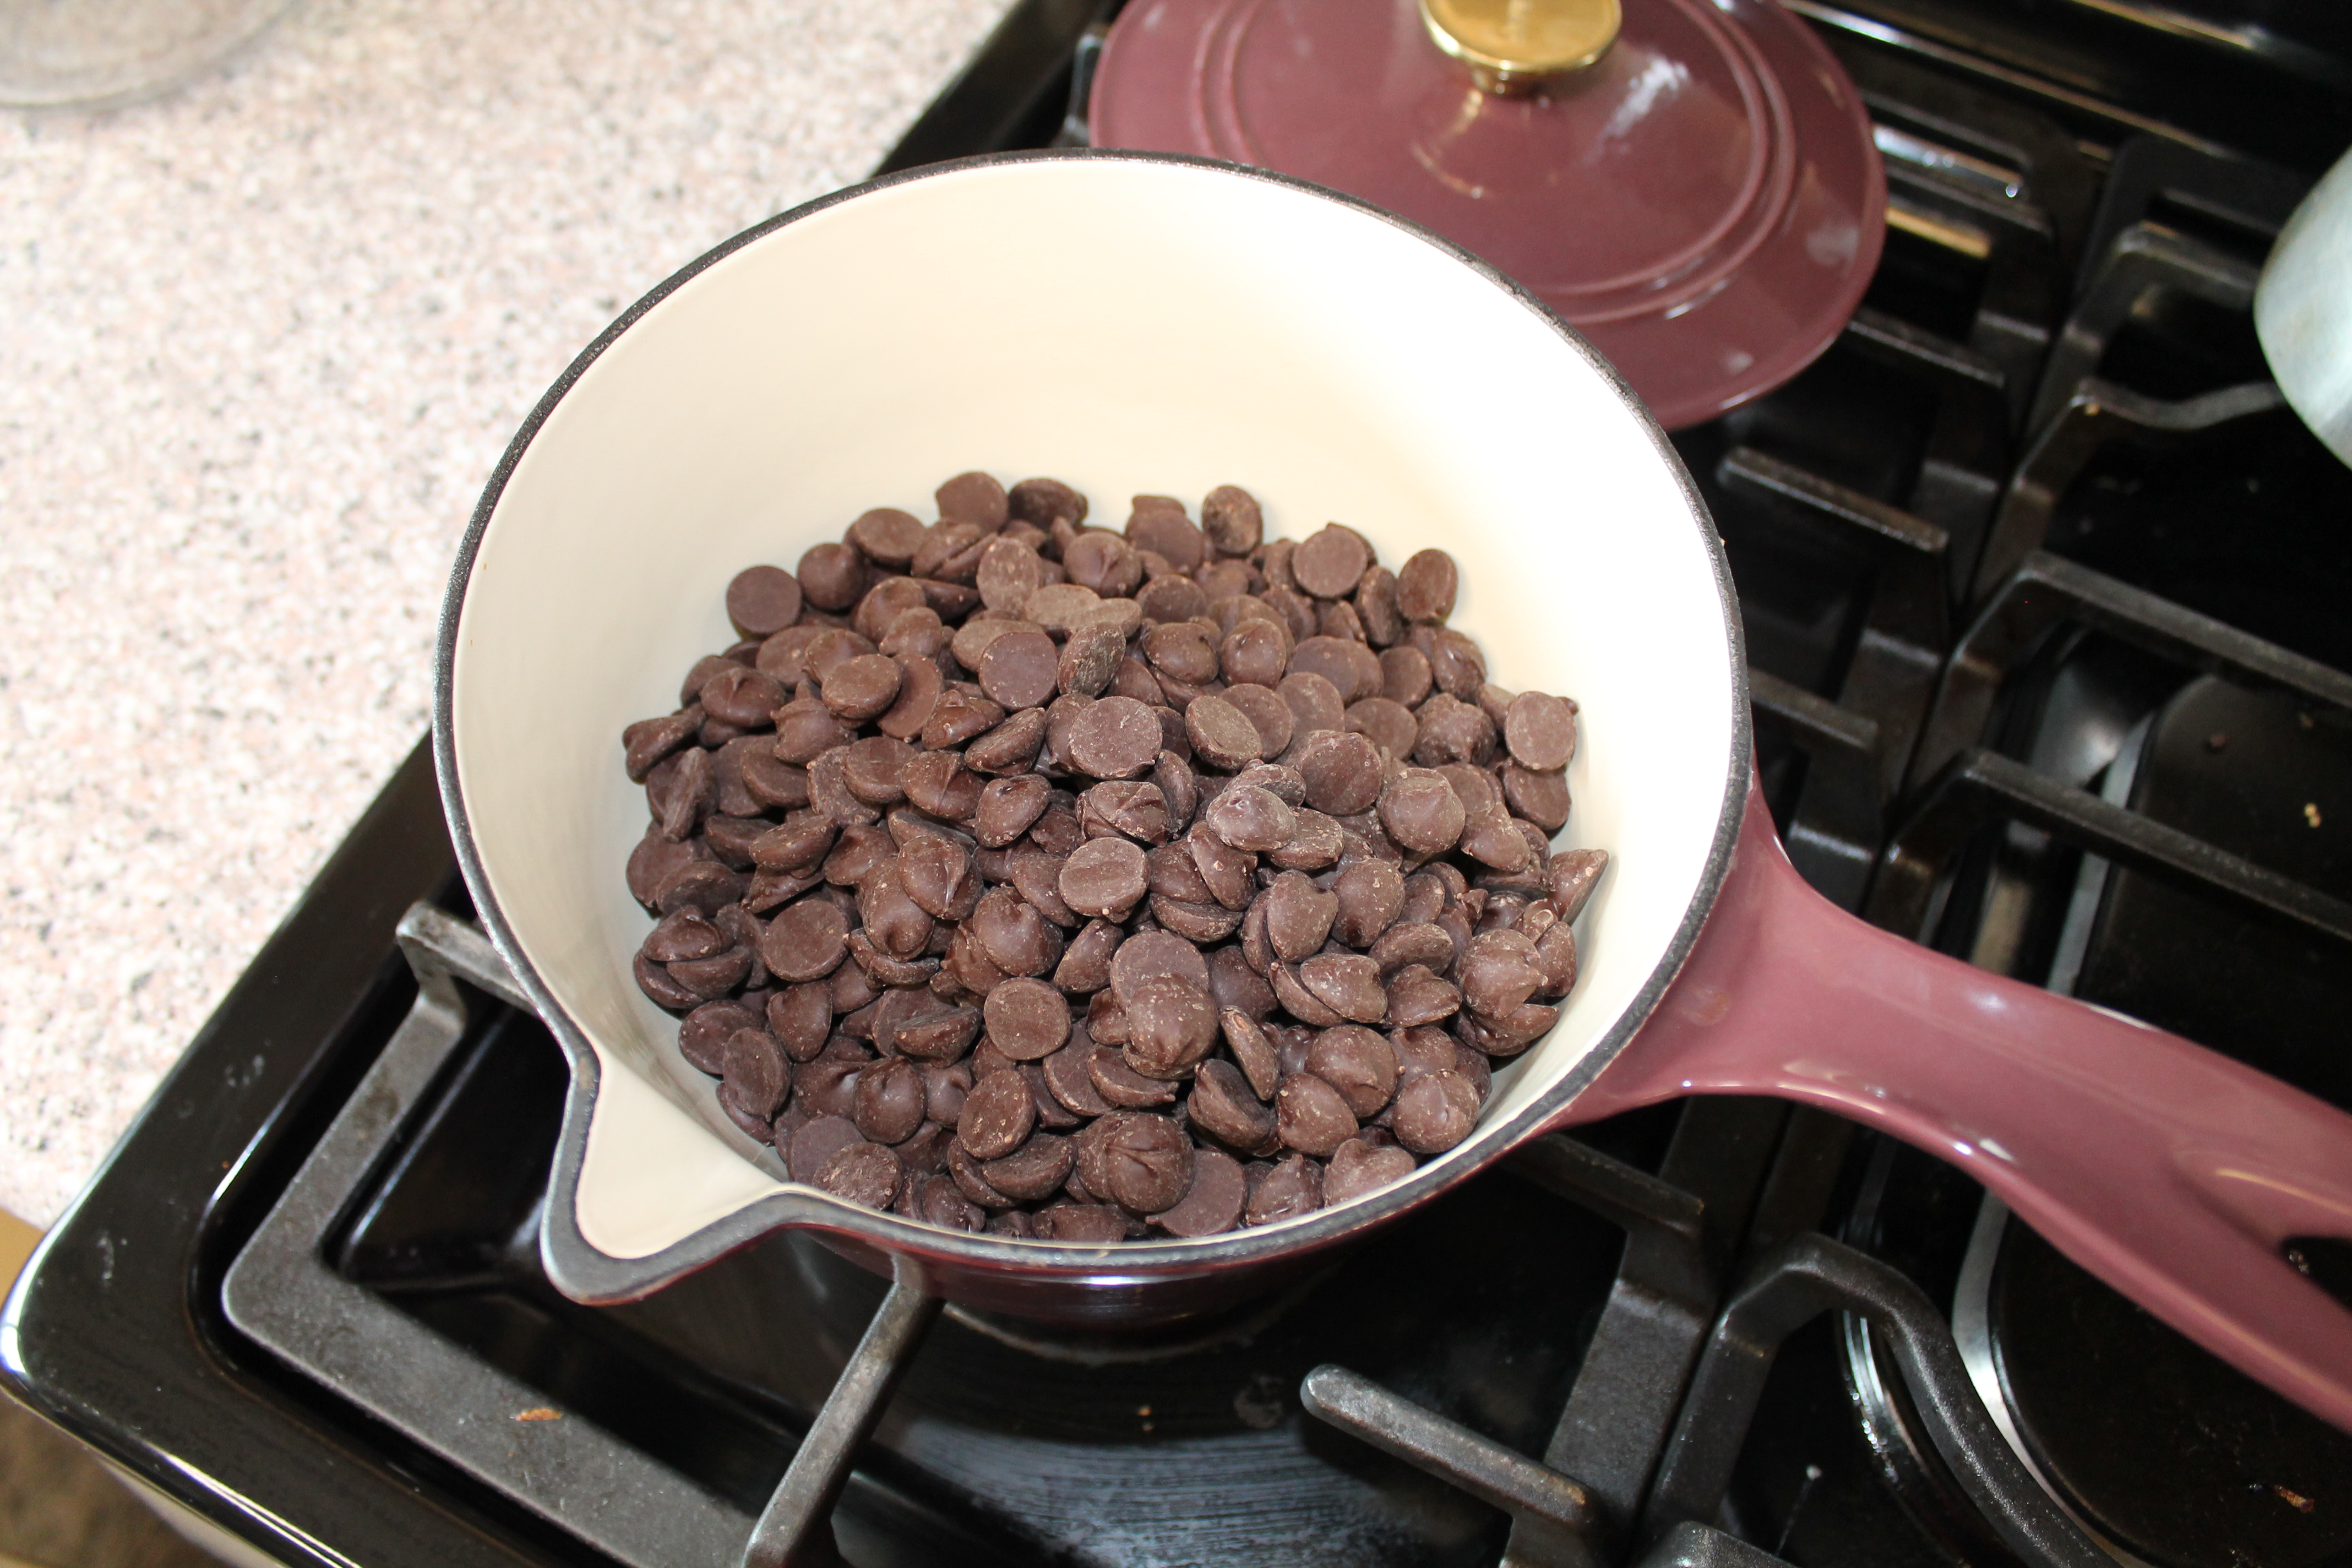
Add 1 Tbsp of Coconut Oil into the chocolate as it is metling down.
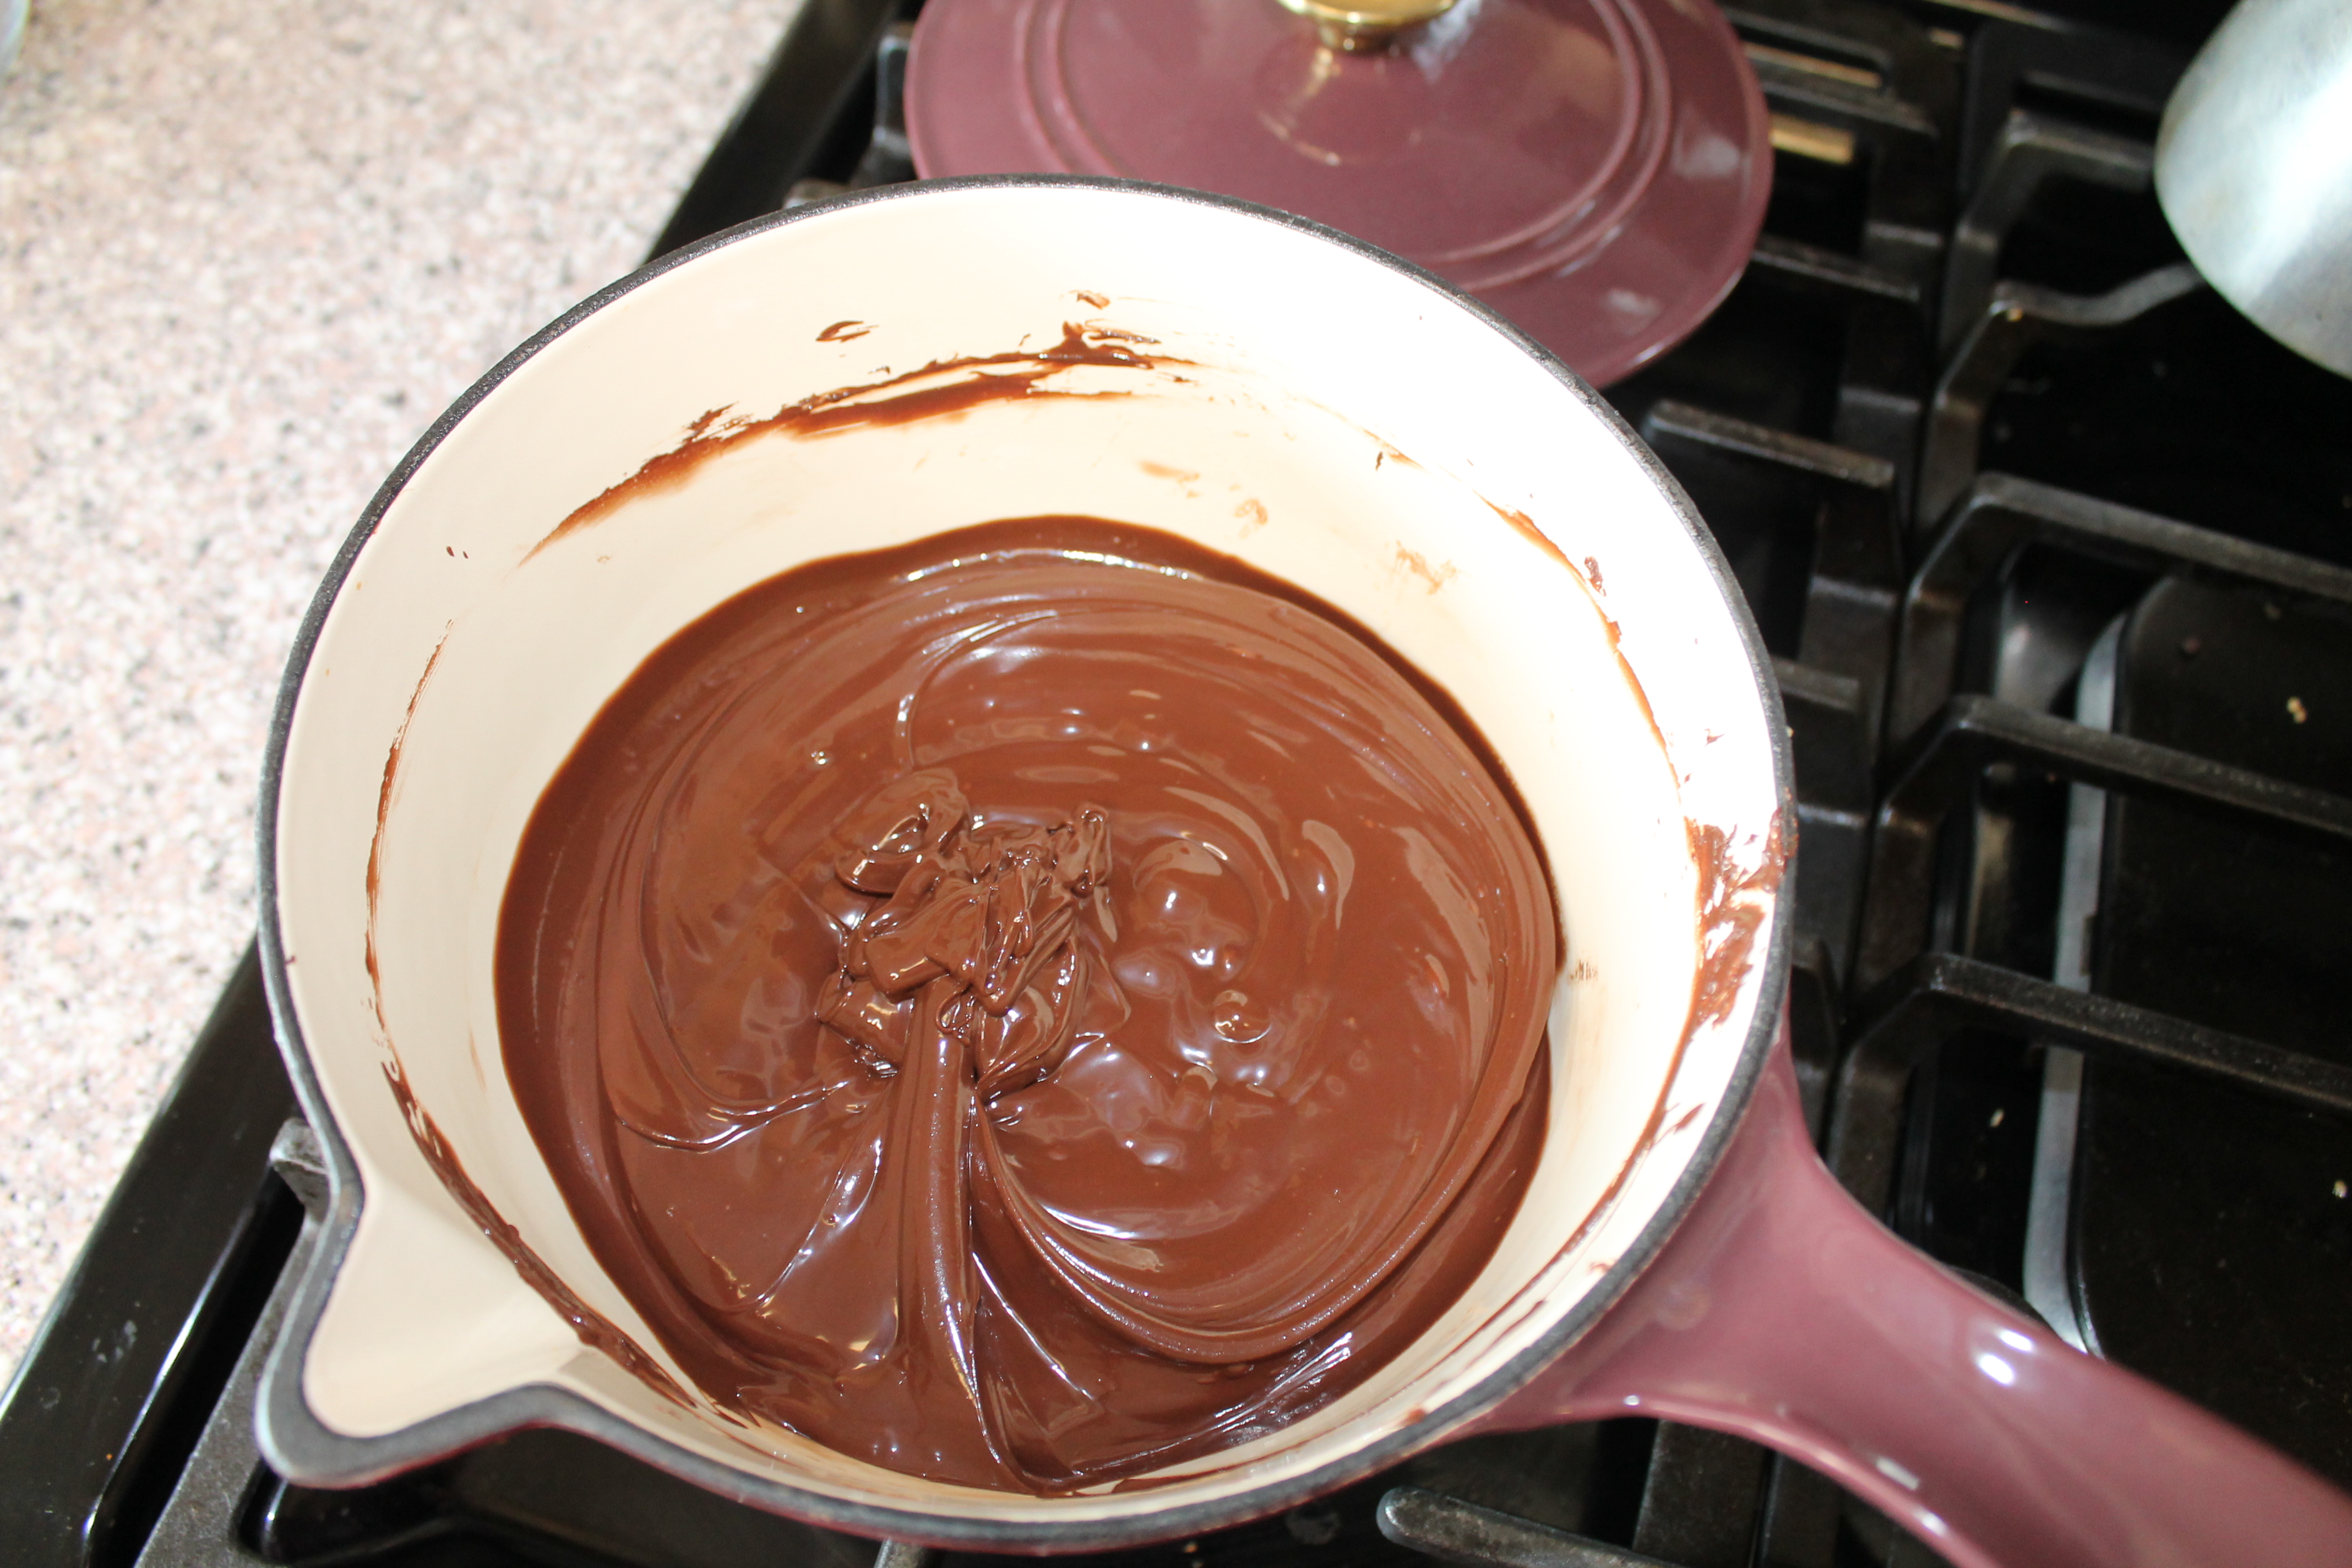
Once all the chocolate is melted take it off the heat.
3. Then you will spoon in 1 1/2 Tsps. of the chocolate into each cup cake liner, rotating the liner as you go so that it gets a nice layer of chocolate on the bottom. One that is not to thick or thin. This is the part that took me a couple of tries to get just right. It also can be very messy but that is ok. Who doesn’t like to lick chocolate off ones fingers its the best way to clean them up. (I fine using a pastry brush can make this easier to do).
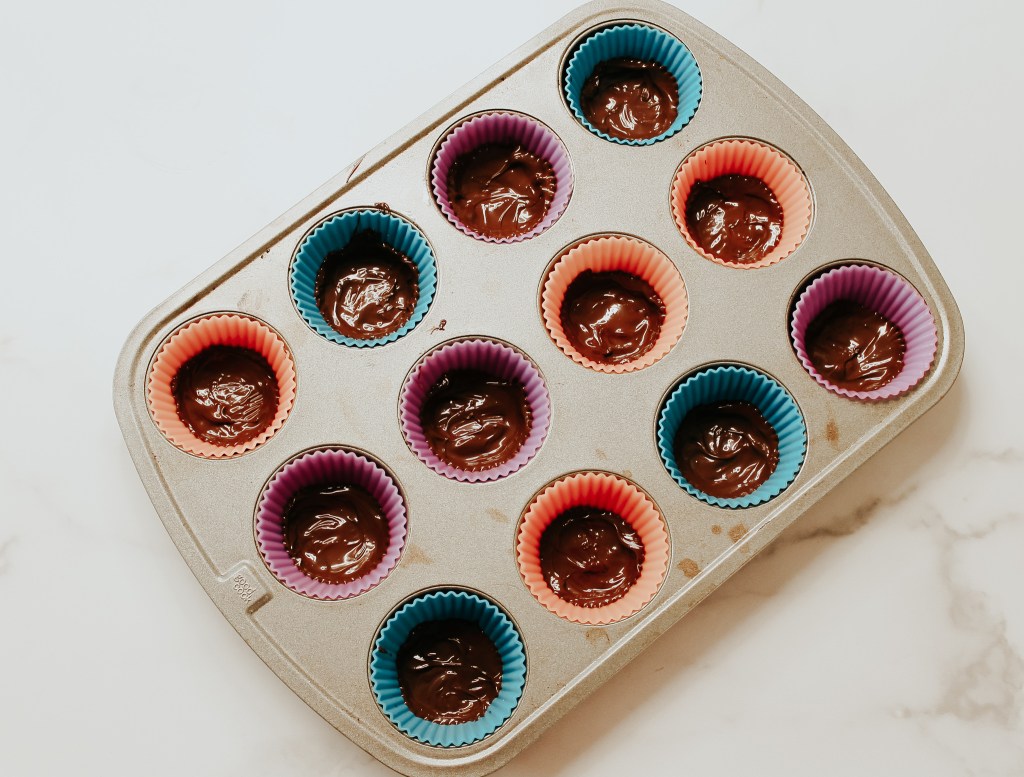
4. You will place the finished cup cake tray, into the freezer for 15 minutes so that the chocolate can harden. While this is happen we are going to get started on the filling.
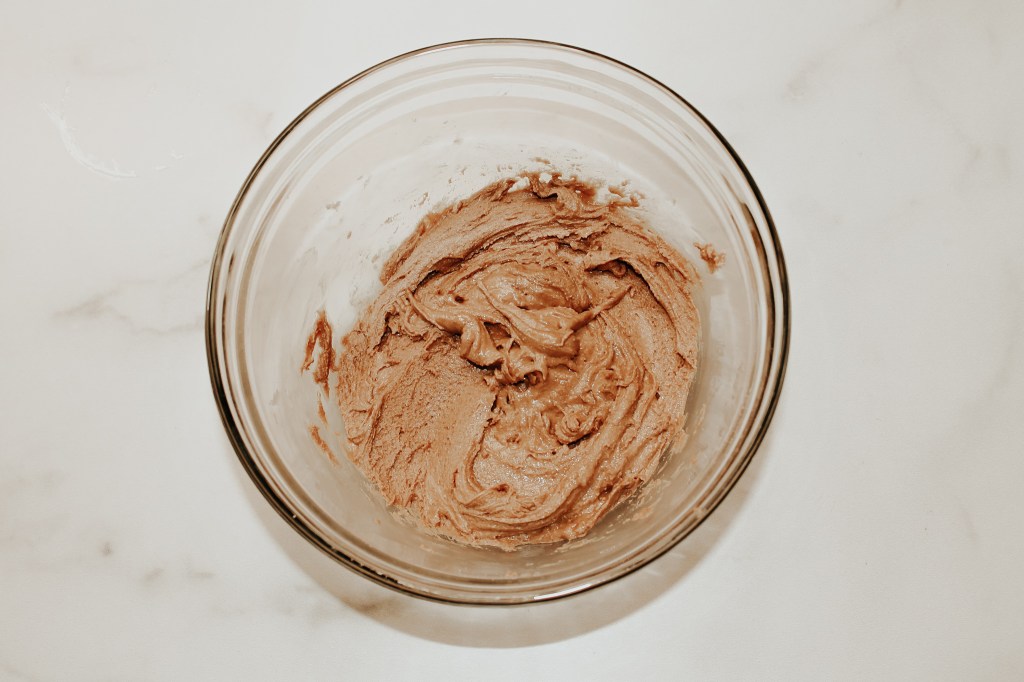
5. In a separate bowl you will combine you 1 cup of peanut butter, the other 1 Tbsp. of coconut oil, and 1 scoop of the chocolate protein powder. Stir this well until all the ingredients are nicely combined. It will look something like the picture below.
6. Once you have created the filling and its been 15 minutes since your bottom chocolate layer has harden its time to assemble. You will scoop abut 1/2 Tbsp of the filling into each cupcake mold. You can do more of less of filling depending on what your taste buds prefer. But the more you put the larger the cups will be when done. When you have filled each cupcake mold then , you will then need to pour the top layer of chocolate. This you can eye ball, the whole goal though is to have a smooth top layer.

7. Once covered with chocolate then you will place tray back into the freezer for another 15 minutes to harden the chocolate on top.
Once the cups have harden it is time to pop them out of the silicone liners. This is why i prefer to use these as they are very easy to get out of with no mess really. You may get some chocolate on your hands that’s ok just like it off.
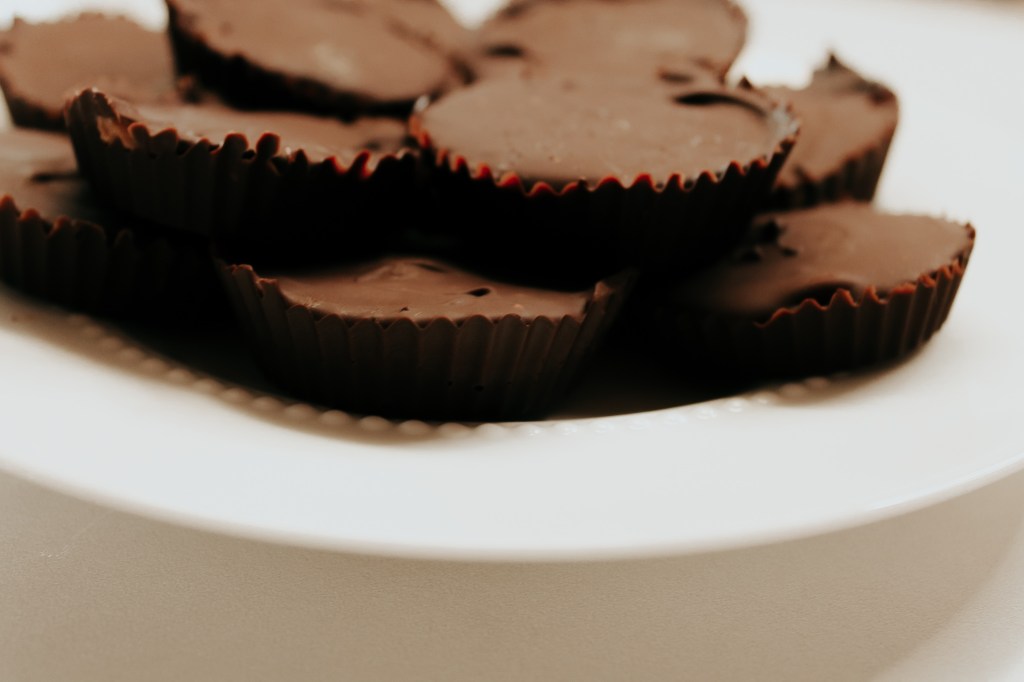
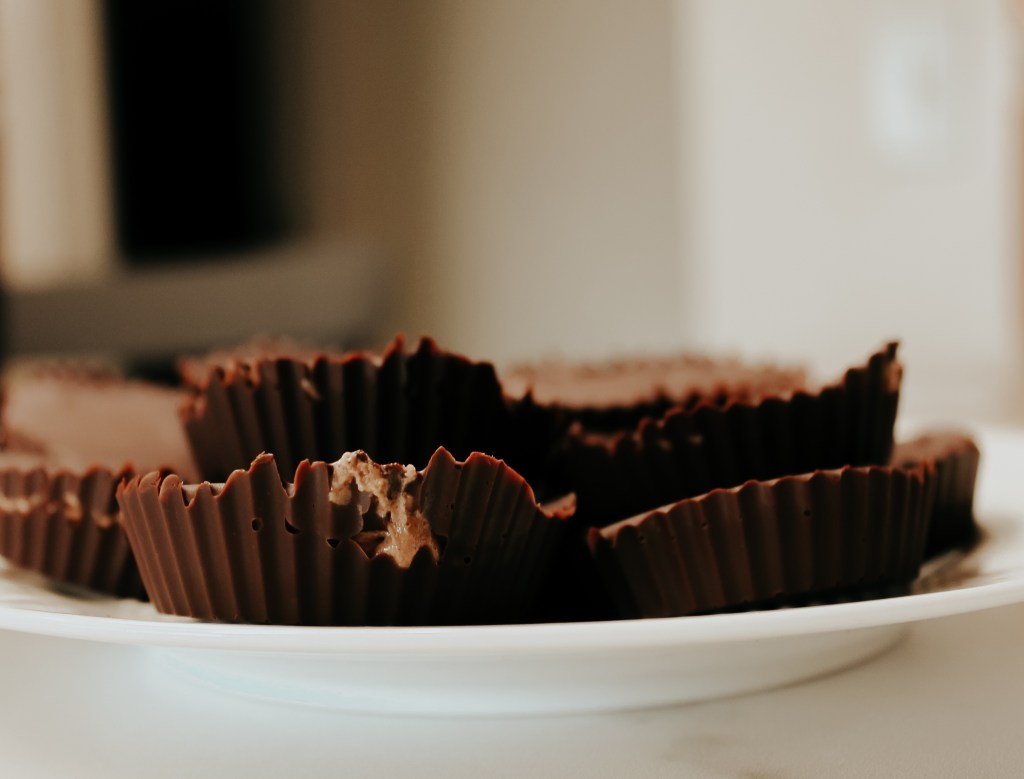
Well you have done it, made your first batch of Protein Dark chocolate Butter cups. Once you have done this, it does become pretty addicting as these are delicious and filling. They make a great desert or just sweet treat without all the guilt. They are good to store in the freezer or refrigerator, depends if you prefer them softer or harder. My family absolutely loves these and I am constantly trying to keep them in stock. I hope you will enjoy these as much as I have creating this recipe. Until next time.
Allie xoxo

These look like the perfect snack!
LikeLike